Images, templates and context
Assignment
"Praxis Rosenweg would like a first test machine," Simone Wyss writes. "Ubuntu, small, on the internal network and without anyone on our side setting it up by hand. Can that be done in a few minutes?"
Learning goals
After this chapter you can:
- Tell datastores, images and templates apart
- Bring an image from the marketplace into your cloud
- Tell the formats raw and qcow2 apart, as well as persistent and non-persistent images
- Read and adapt a VM template
- Explain how contextualization sets up a VM at its first boot
- Compare OpenNebula's contextualization with cloud-init
- Start a VM, log in over SSH and pass the check of this part
Datastores and images
Section titled “Datastores and images”An image is a disk that VMs boot from, such as a prepared Ubuntu. Images live in a datastore. OneDeploy created three datastores. default holds the images, system the disks of running VMs, and files smaller files such as scripts. When a VM starts, the transfer driver ssh copies its image into the system datastore of the node. The VM works on that copy, and the image in the datastore stays unchanged.
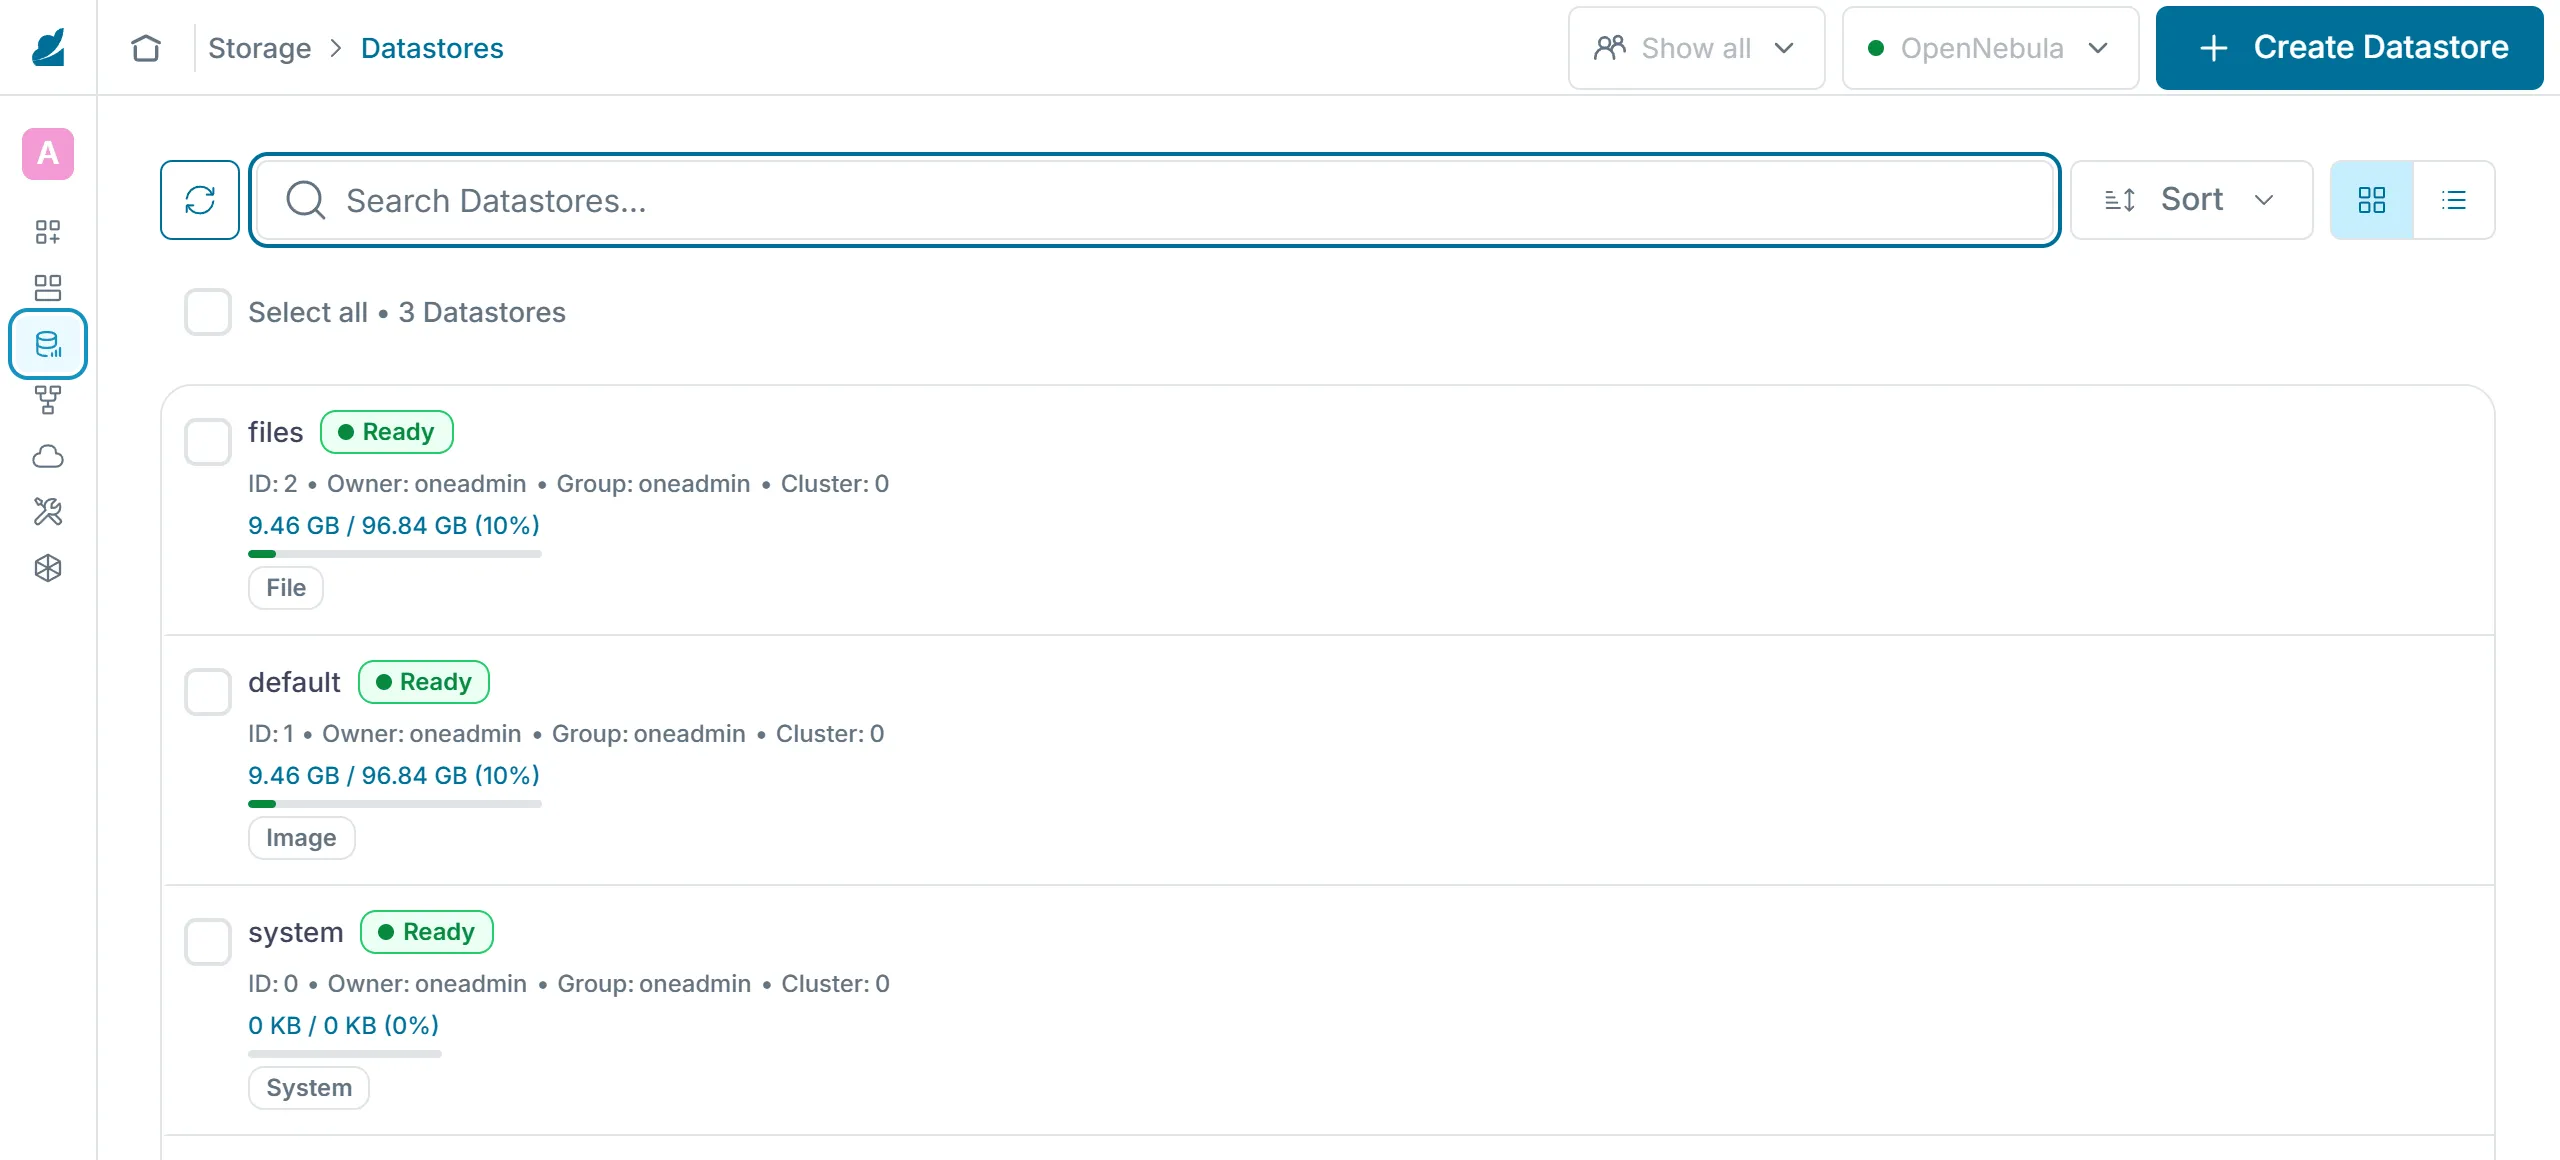
Sunstone lists the three datastores under "Storage › Datastores".
The OpenNebula marketplace provides ready-made images. onemarketapp export brings an image into your datastore, and OpenNebula creates a simple template for it.
onemarketapp list | grep -i ubuntuonemarketapp export "Ubuntu Minimal 26.04" ubuntu-26.04 --datastore defaultoneimage listThe image is ready as soon as oneimage list shows rdy in the column STAT. The marketplace guide of OpenNebula 7.4 describes the other commands of onemarketapp.
Image formats
Section titled “Image formats”A raw image holds the disk byte for byte, exactly as it would sit on a physical drive. The format is simple and fast, and every tool can read it. A 30 GB disk takes 30 GB as a raw file, unless the file system supports sparse files and only reserves the parts that were written, as the QEMU documentation explains.
The name qcow2 stands for QEMU Copy On Write, version 2. The file only grows with the blocks that were actually written, and it can hold snapshots. A qcow2 file can also point to a backing file, another image it only reads from. When the VM needs a block the file itself does not contain, the block comes from the backing file. When the VM writes a block, it lands in its own file and the backing file stays untouched, as the qcow2 specification describes. Many VMs can share one base image this way, each storing only its own changes. On datastores with shared storage OpenNebula creates new disks like this, with the image as backing file, as shown in the documentation on NFS datastores.
Your lab uses qcow2. oneimage show ubuntu-26.04 shows FORMAT : qcow2 and a size of 3.5 GB, which is the disk size the VM sees. The file under SOURCE only takes about 450 MB in the datastore, which qemu-img info on that file confirms. Because the transfer driver ssh copies the image to the node, the disk of a lab VM has no backing file. It is a standalone copy. Copying costs some time at startup, but in return the VM runs without access to the front-end's datastore.
Persistent images
Section titled “Persistent images”In OpenNebula an image is either persistent or non-persistent. A non-persistent image serves as a template for disks. Any number of VMs can use it at once, each on its own copy. Whatever a VM writes to its disk is gone once the VM is terminated. A persistent image keeps its changes after the VM ends, but only one VM at a time may use it, according to the image documentation. oneimage persistent and oneimage nonpersistent switch between the two.
The image ubuntu-26.04 is non-persistent, and oneimage show lists PERSISTENT : No. That is the right choice for system disks, since every VM should start from the same state. The column RVMS in oneimage list tells you how many VMs are using the image right now. Data that has to survive, such as a database, belongs on a second disk from a persistent image. If you want to keep the state of a disk as a new image, onevm disk-saveas copies it into the datastore.
Templates
Section titled “Templates”A template describes a VM, and you can start any number of VMs from it. The course provides the template ubuntu for small VMs on the internal network.
# Template of a small Ubuntu VM in the internal network, the template of chapter 2.4##   onetemplate create ~/cc/lab/iaas/ubuntu.tpl#   onetemplate instantiate ubuntu --name web-1
NAME        = "ubuntu"DESCRIPTION = "Ubuntu 26.04 in the internal network"
# Capacity: CPU is the share of a physical core the scheduler reserves, VCPU what the guest seesCPU    = "0.5"VCPU   = "1"MEMORY = "1024"
# The guest sees the real CPU of the node, generic models hide instructions such as AVX2CPU_MODEL = [ MODEL = "host-passthrough" ]
DISK = [ IMAGE = "ubuntu-26.04", IMAGE_UNAME = "oneadmin" ]NIC  = [ NETWORK = "cc-net", NETWORK_UNAME = "oneadmin", MODEL = "virtio" ]
# Contextualization: network settings, the SSH key of the user and the host name at first bootCONTEXT = [  NETWORK        = "YES",  SSH_PUBLIC_KEY = "$USER[SSH_PUBLIC_KEY]",  SET_HOSTNAME   = "$NAME"]
GRAPHICS = [ TYPE = "VNC", LISTEN = "0.0.0.0" ]OS       = [ ARCH = "x86_64" ]
CPU is the share of a physical core the scheduler reserves for the VM. VCPU is the number of CPUs the VM sees. With CPU = "0.5" and VCPU = "1", twice as many VMs fit on a node as it has cores, as long as not all of them compute at full speed at once. CPU_MODEL with host-passthrough shows the VM the real CPU, as chapter 1.3 explains. DISK names the image, NIC the network. The next section explains the CONTEXT block.
onetemplate create ~/cc/lab/iaas/ubuntu.tplonetemplate listThe guide to VM templates shows how to create, update and share templates.
Contextualization
Section titled “Contextualization”An image is the same for every VM, but each VM needs its own address, its name and the keys of its users. OpenNebula hands these details to the VM at boot. It attaches them as a small virtual CD drive, and the package one-context in the image reads them at the first boot and sets up the VM accordingly. This principle is called contextualization.
| Setting | Effect in the VM |
|---|---|
NETWORK = "YES" | address, gateway, DNS and MTU from the network cc-net |
SSH_PUBLIC_KEY | the public key in root's authorized_keys |
SET_HOSTNAME | the host name, here the name of the VM |
START_SCRIPT | a script that runs at boot, used for k3s in part 4 |
$USER[SSH_PUBLIC_KEY] takes the key from the user who starts the VM. So that you can log in from the front-end, you store the front-end's key with oneadmin.
printf 'SSH_PUBLIC_KEY="%s"\n' "$(cat ~/.ssh/id_ed25519.pub)" > /tmp/key.tploneuser update oneadmin --append /tmp/key.tplContextualization and cloud-init
Section titled “Contextualization and cloud-init”OpenNebula writes the values from CONTEXT into a file context.sh with lines of the form NAME='value' and puts it on an ISO image that the VM sees as a CD drive, as the VM template reference describes. In the lab this image sits on the node next to the disk in the VM's directory, as disk.1 with the label CONTEXT. OpenNebula's contextualization packages mount the drive at boot, read the variables and then set up network, host name, keys and scripts. The marketplace images already include these packages.
In public clouds cloud-init usually does this job. It also sets up a generic VM at first boot with the data of its instance. That data comes from a data source, which depending on the cloud is a metadata service on the network or an attached disk. The setup itself typically comes as a YAML file in the #cloud-config format. For OpenNebula there is a separate cloud-init data source that reads the same CD drive with context.sh, so an image built for cloud-init can be set up in OpenNebula as well. The main difference lies in how the settings are expressed. OpenNebula works with plain variables, cloud-init with a configuration made of modules for packages, files, users and commands.
Your first VM
Section titled “Your first VM”You start the first VM from the template ubuntu and log in over SSH from the front-end. It usually runs after a few seconds, and SSH is ready after 10 to 30 seconds.
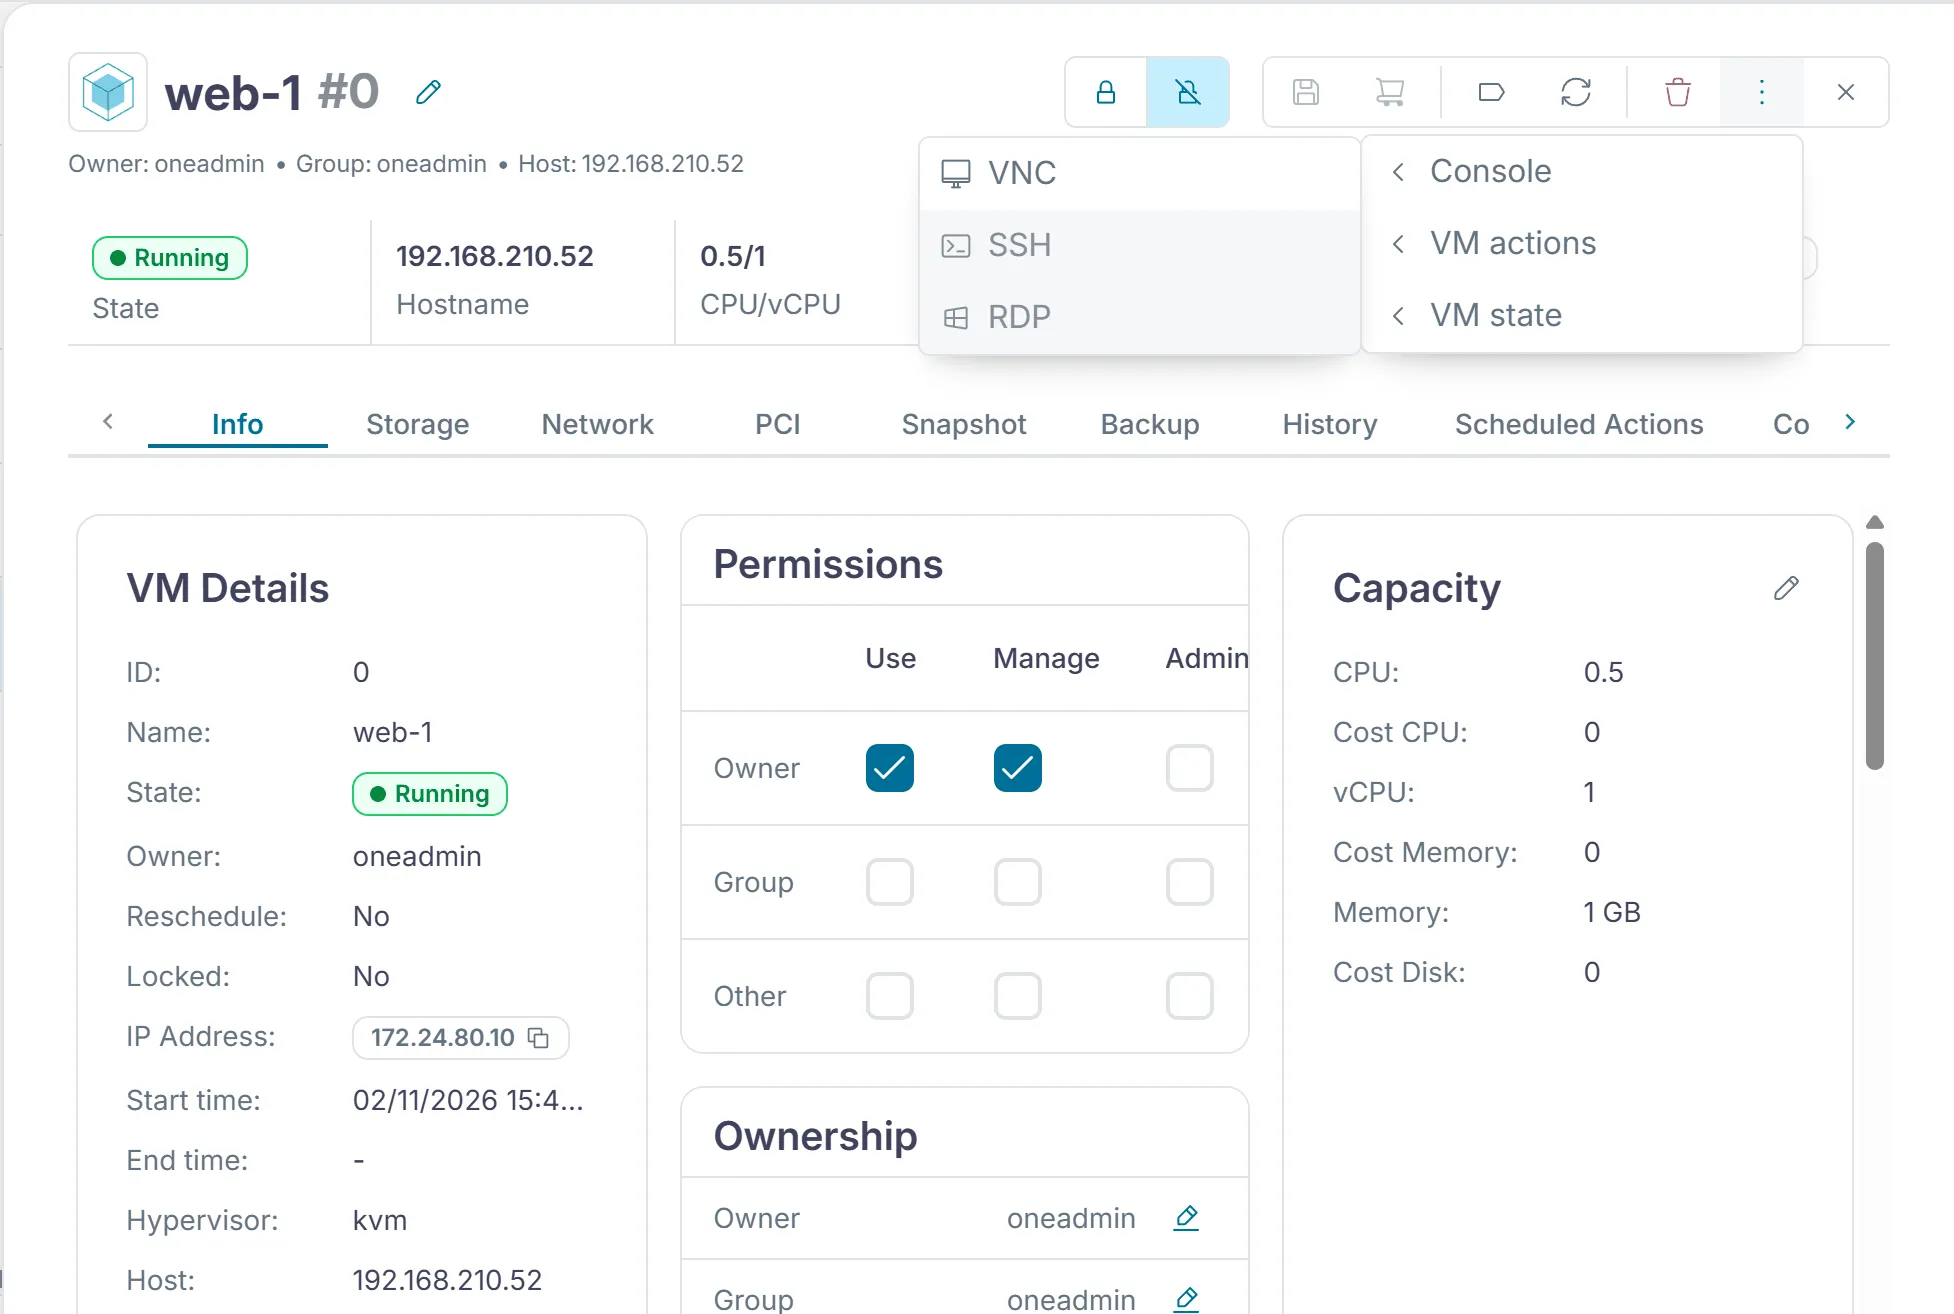
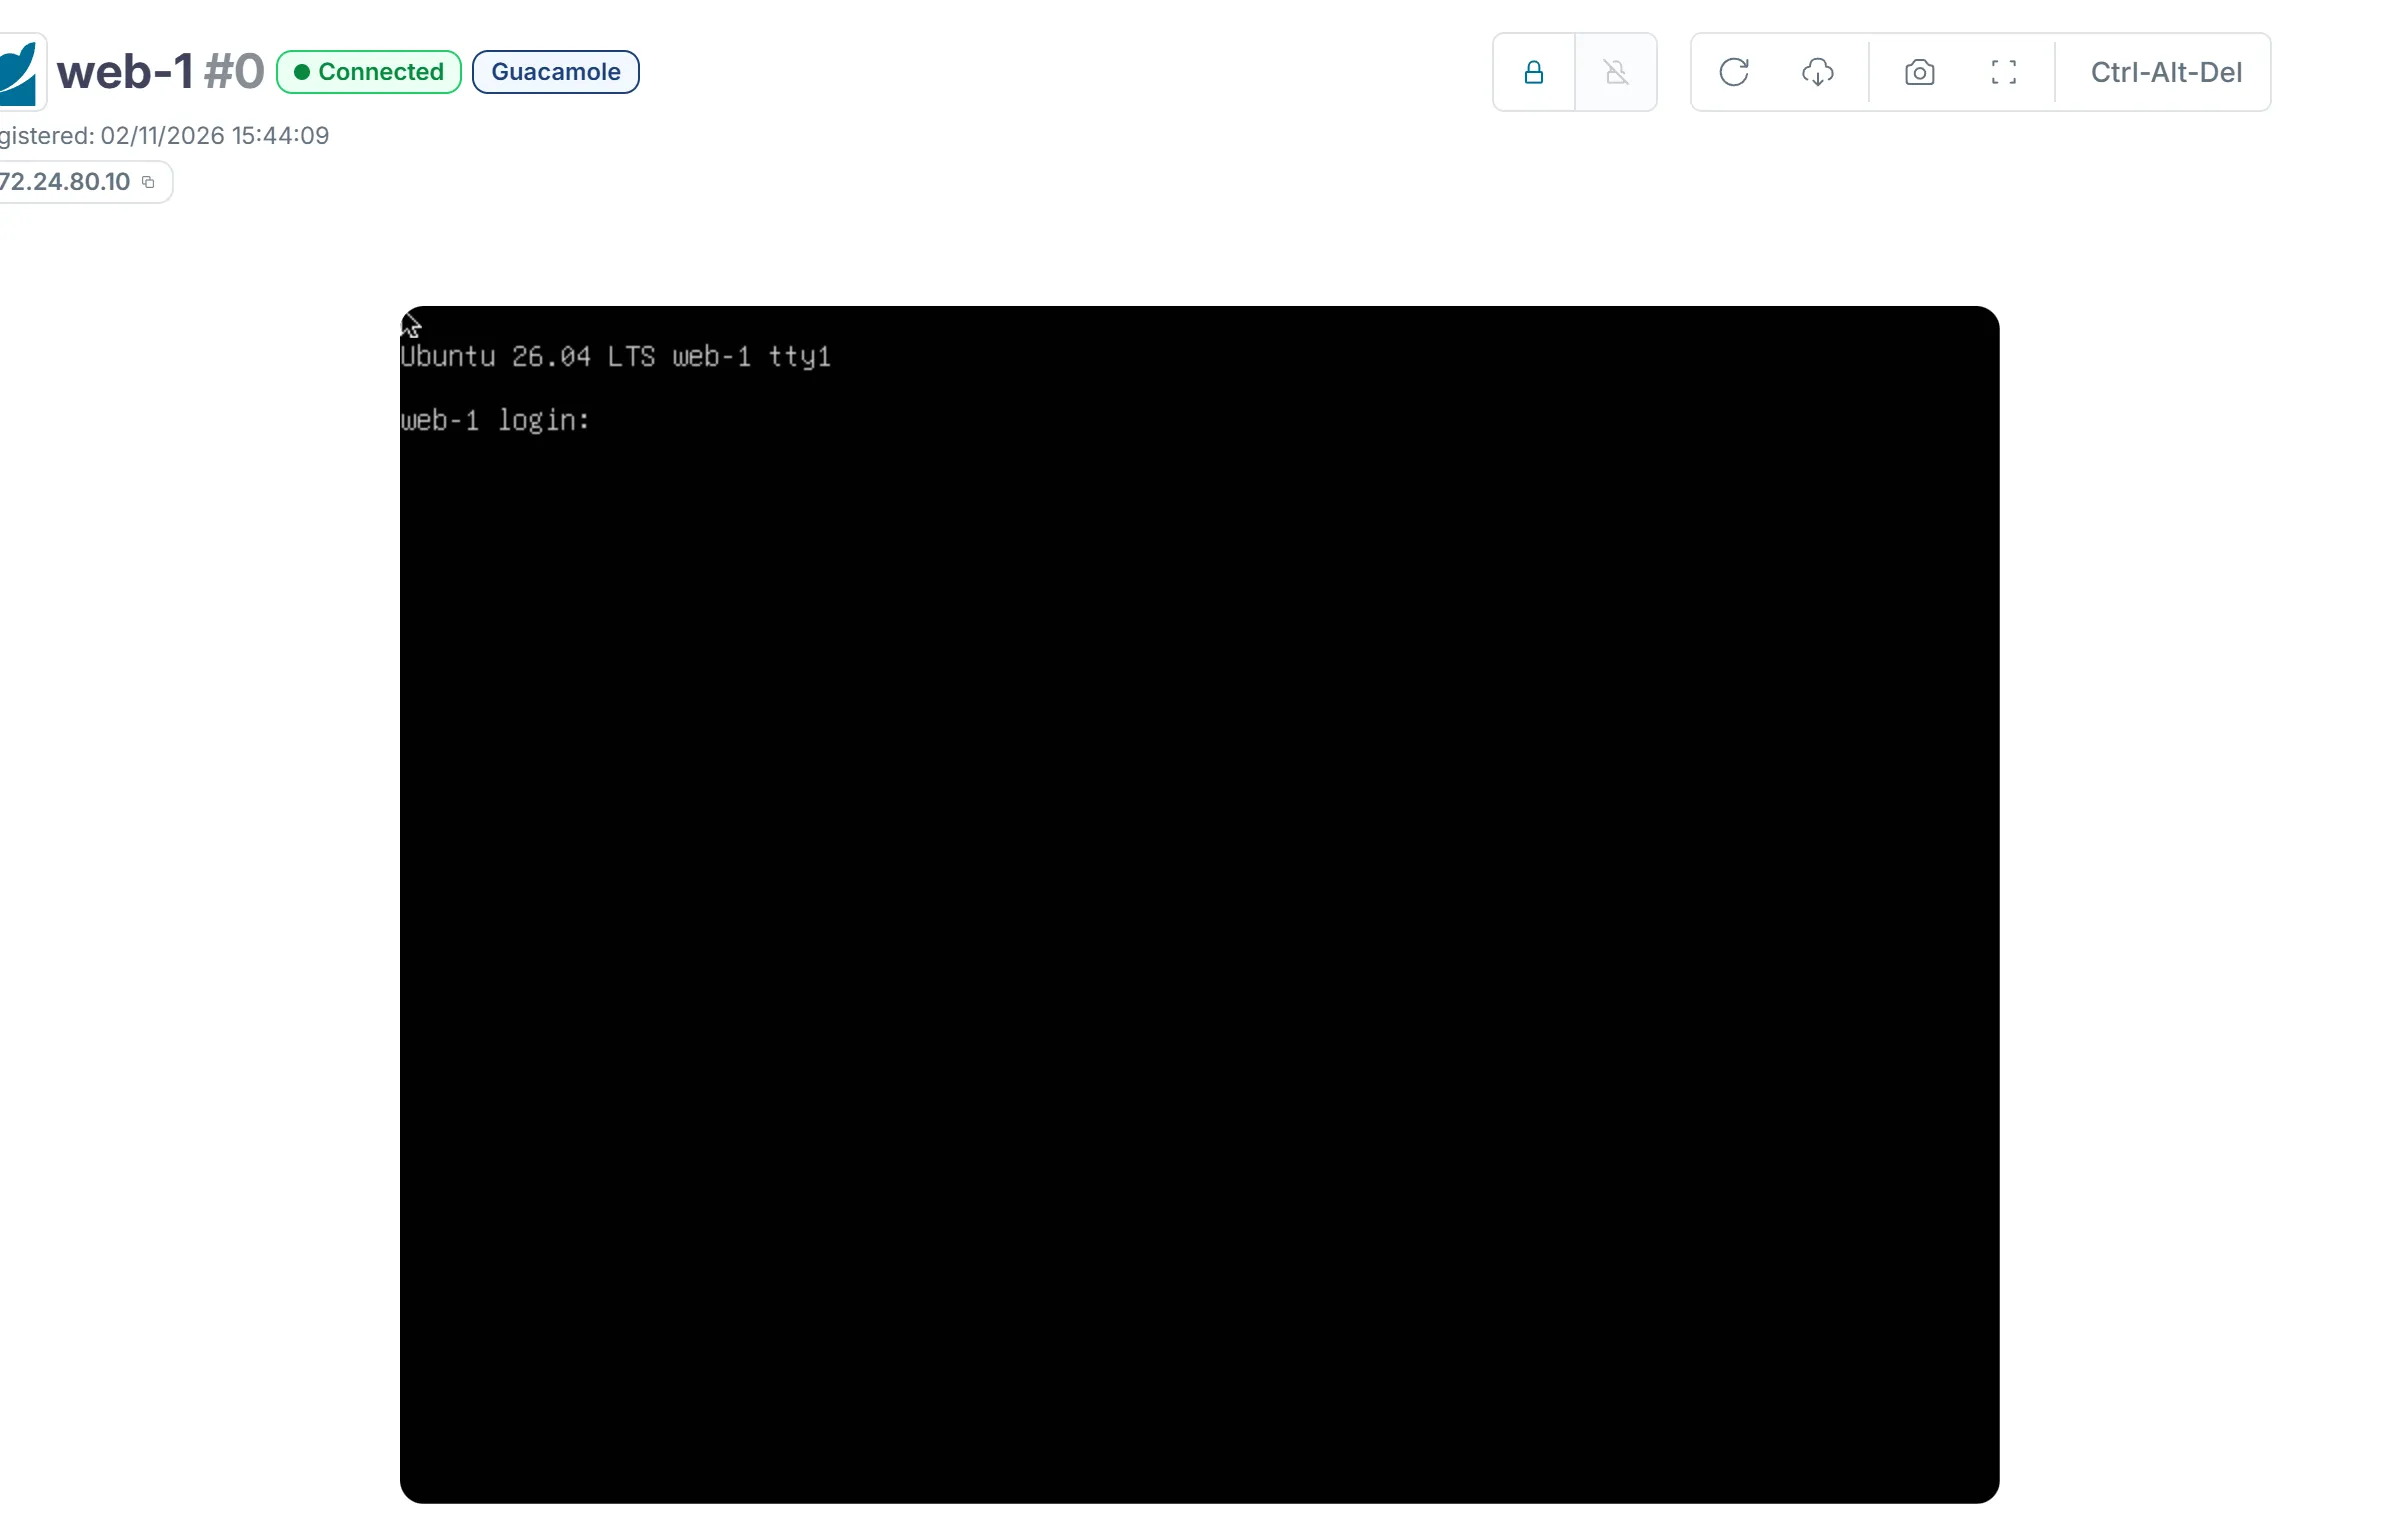
onetemplate instantiate ubuntu --name web-1onevm listonevm show web-1 | grep -E 'IP=|HOST'ssh root@<address-of-the-vm>Inside the VM you can see what contextualization has set up. hostname shows the name, ip -br addr the address and ip link show eth0 the MTU. curl -I https://ubuntu.com checks whether the VM reaches the internet through the gateway. Sunstone shows the screen of the VM in the browser of the client. Click the VM under "Instances › VMs", open the menu with the three dots at the top right and choose "Console", then "VNC". For further commands on running VMs and the ways to reach their console, see the guide to VM instances.
The check of this part covers the network, the template, a running VM, the SSH login, its host name and internet access.
python3 ~/cc/checks/check.py iaasExercise Lab
Get the image, create the template, start the VM web-1 and upload the report of the check iaas to your hand-in repo.
Solution
The check ends with "11 of 11 base checks passed". Inside the VM, hostname shows the name web-1, ip -br addr an address from your internal network and ip link show eth0 the MTU 1450.
Exercise Adapting a template
Treuhand Aaregg needs a larger VM with two CPUs and 2 GB of memory at the end of the month. Create a copy of the template named ubuntu-medium and start a VM from it. According to onehost list, how many such VMs fit on one node?
Solution
onetemplate clone ubuntu ubuntu-medium, then onetemplate update ubuntu-medium with CPU = "1", VCPU = "2" and MEMORY = "2048". A node with 7.2 GB of memory and four cores carries three such VMs. Memory sets the limit, since the CPU would allow four.
Exercise Persistent data
Praxis Rosenweg wants to run a small database in a VM. The data has to survive even when the VM is terminated and created again. How do you set up the disks, and what speaks against simply making the image ubuntu-26.04 persistent?
Solution
The system disk still comes from the non-persistent image ubuntu-26.04. For the data you create an empty persistent image, for example with oneimage create -d default --name praxis-db --type DATABLOCK --size 2048 --persistent, and attach it to the VM as a second disk. When the VM is terminated, the data stays in the image, and a new VM can attach it again. If ubuntu-26.04 were persistent, only one VM could use it and every further VM from the template would fail to start. On top of that, every change to that system disk would end up in the shared base image.
Text and figures are licensed under CC BY-SA 4.0 and the code under the MIT License. The sources are on GitHub.